Last updated November 22, 2026
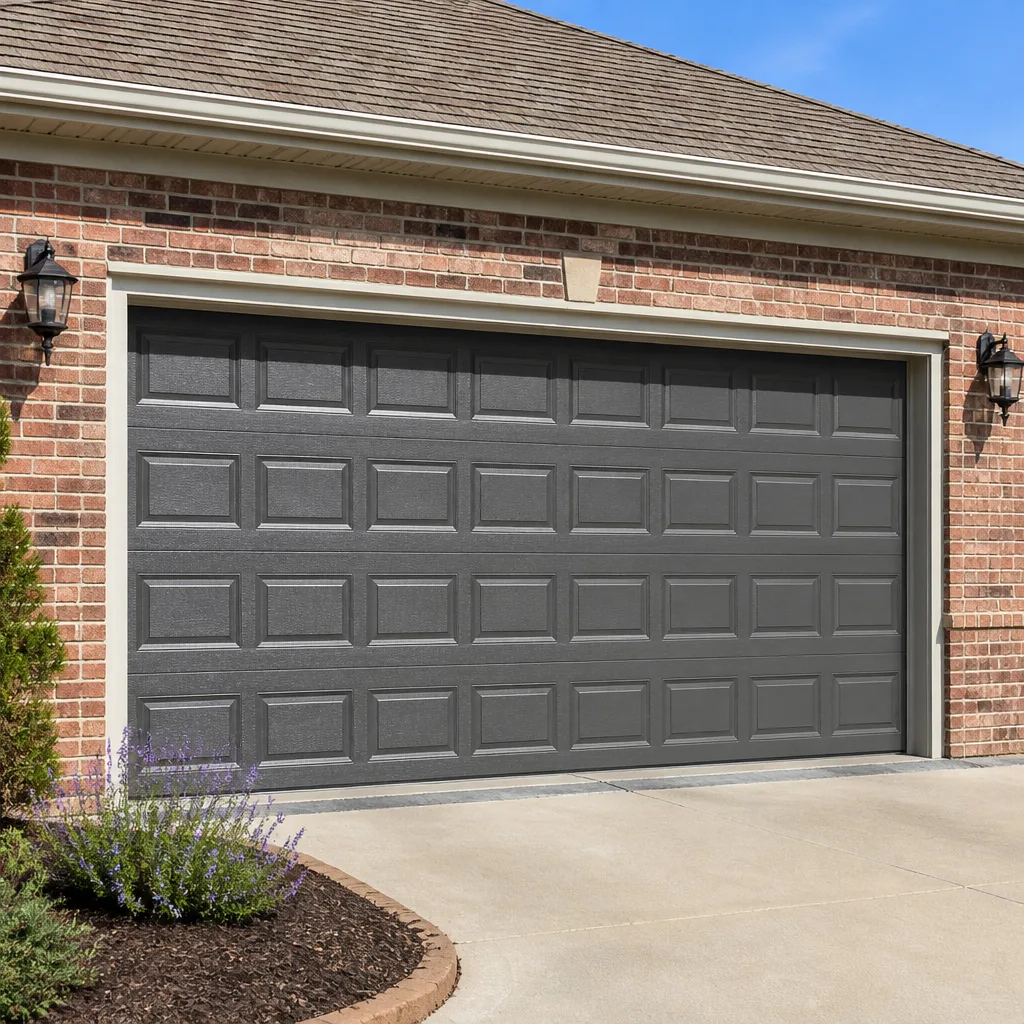 Raised-panel steel
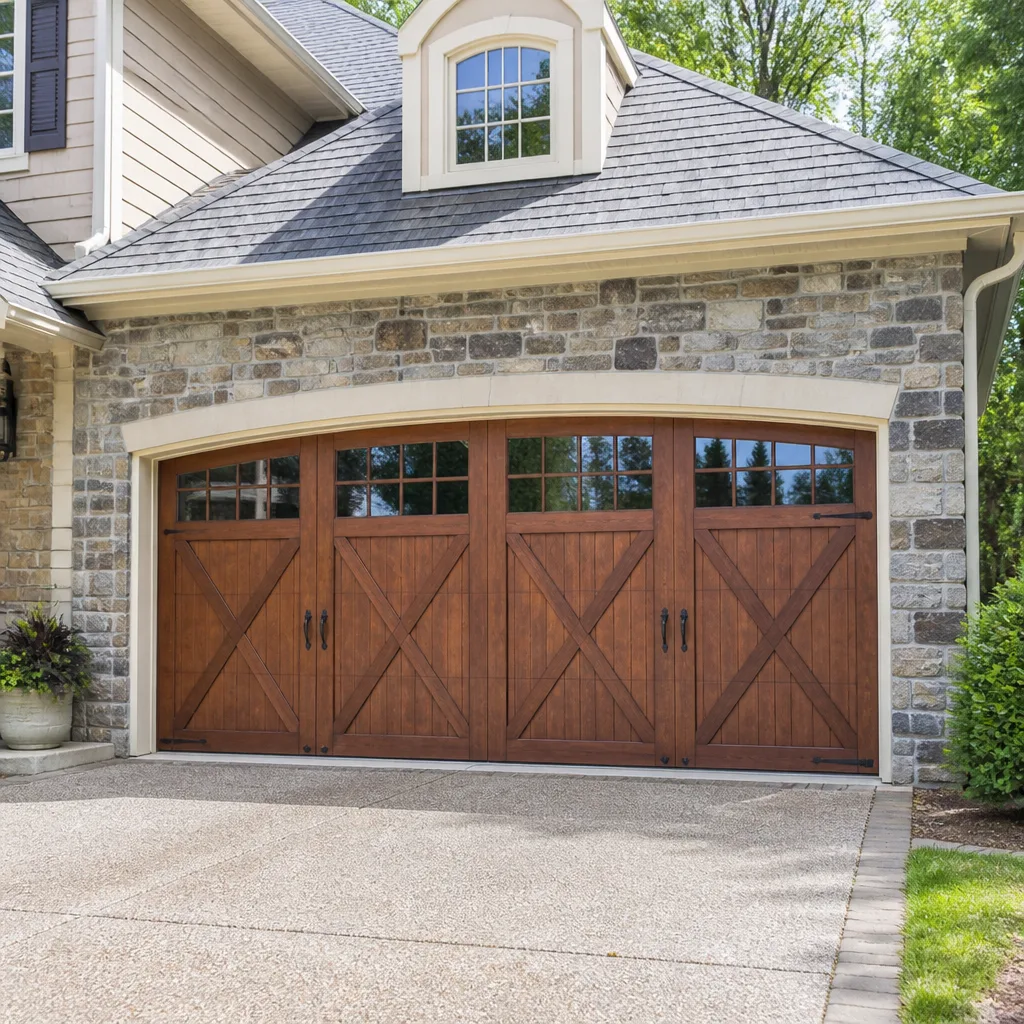 Carriage house
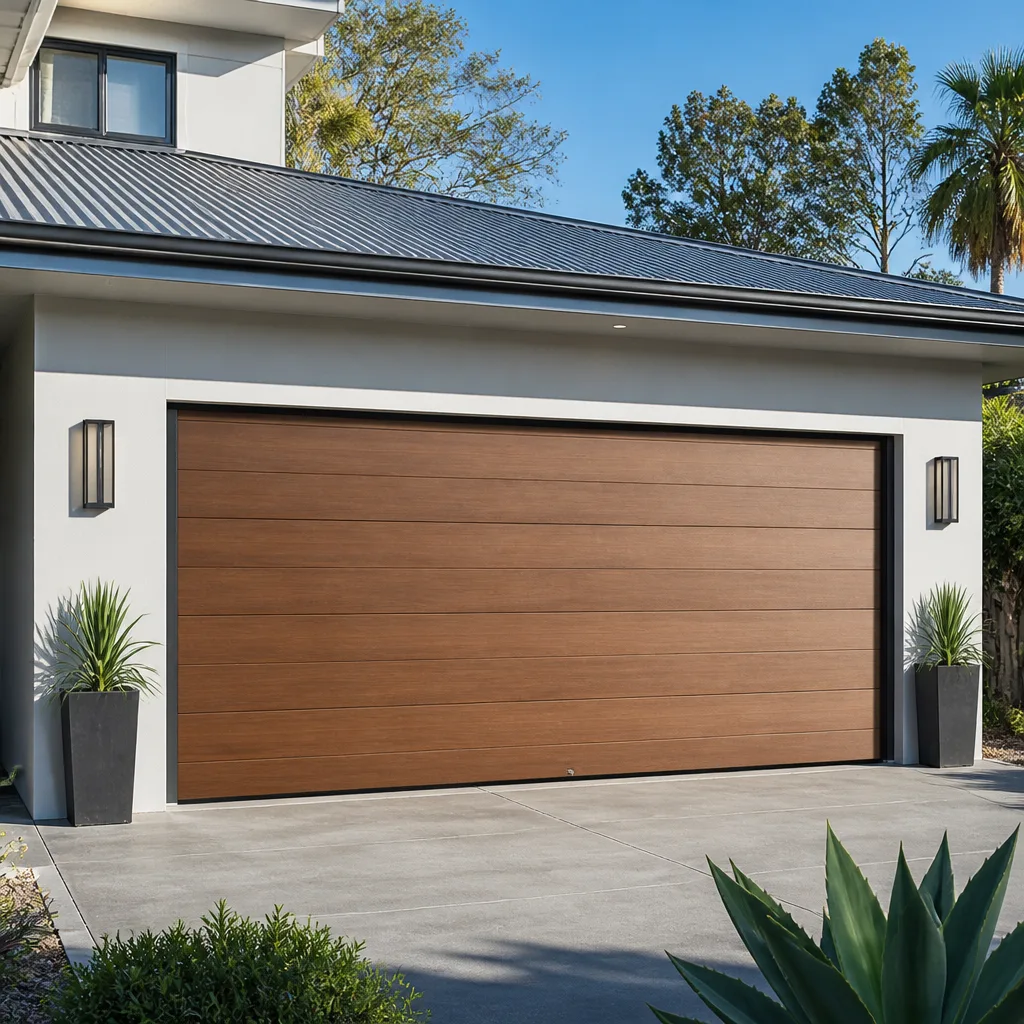 Modern flush
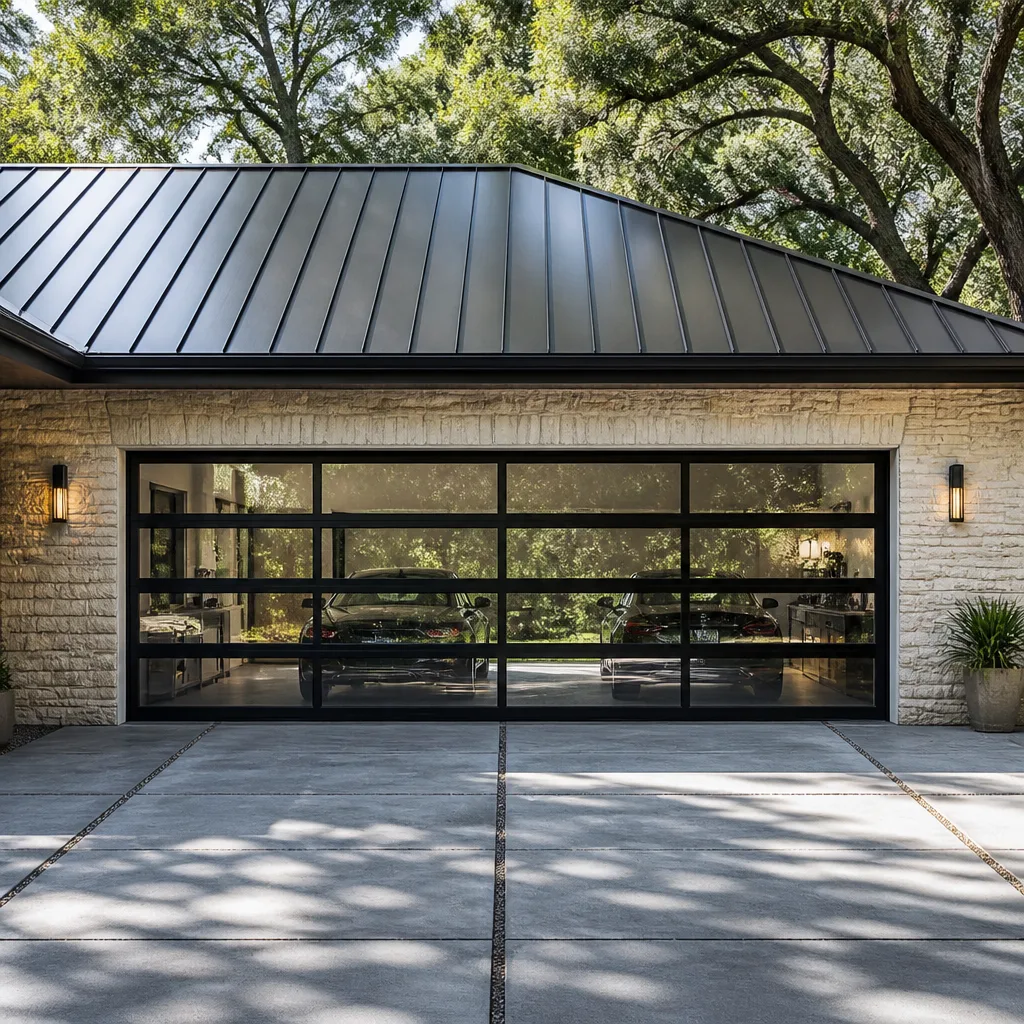 Full-view glass
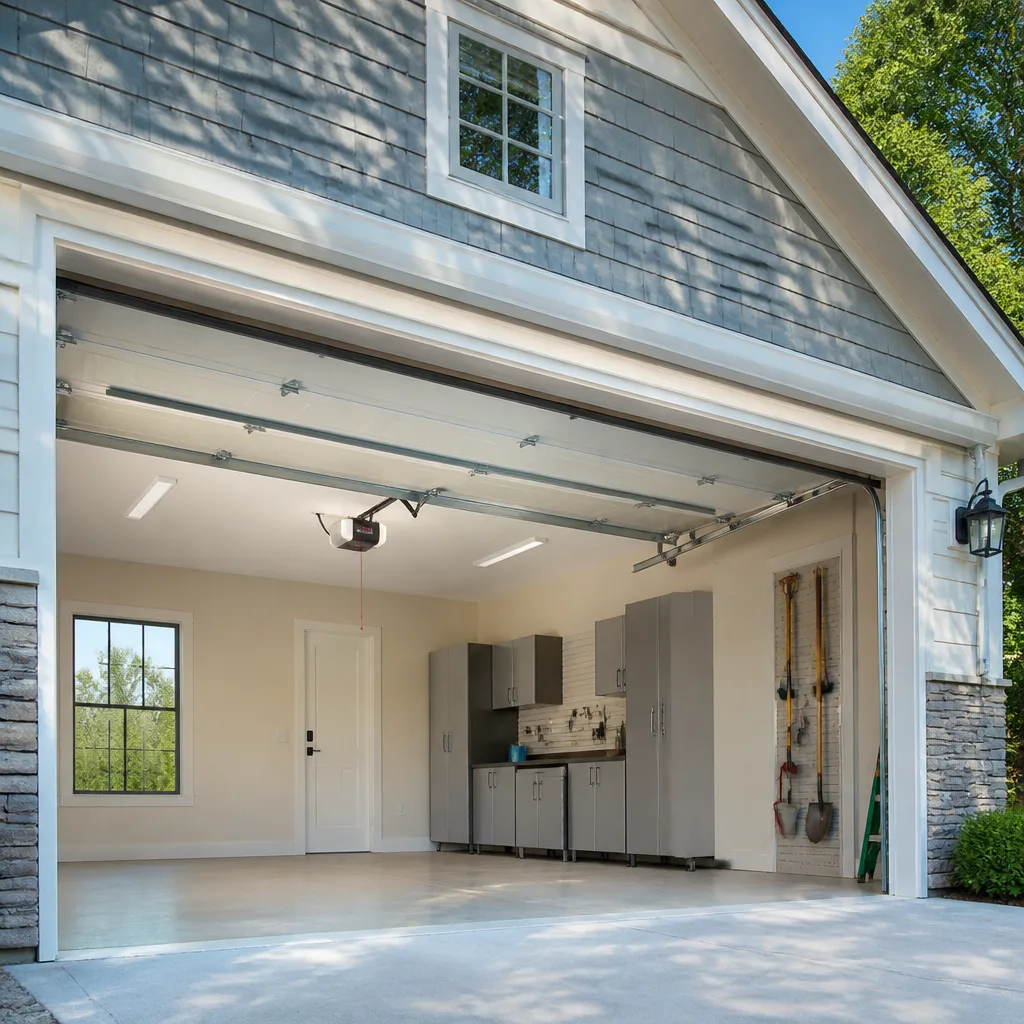 LiftMaster openers
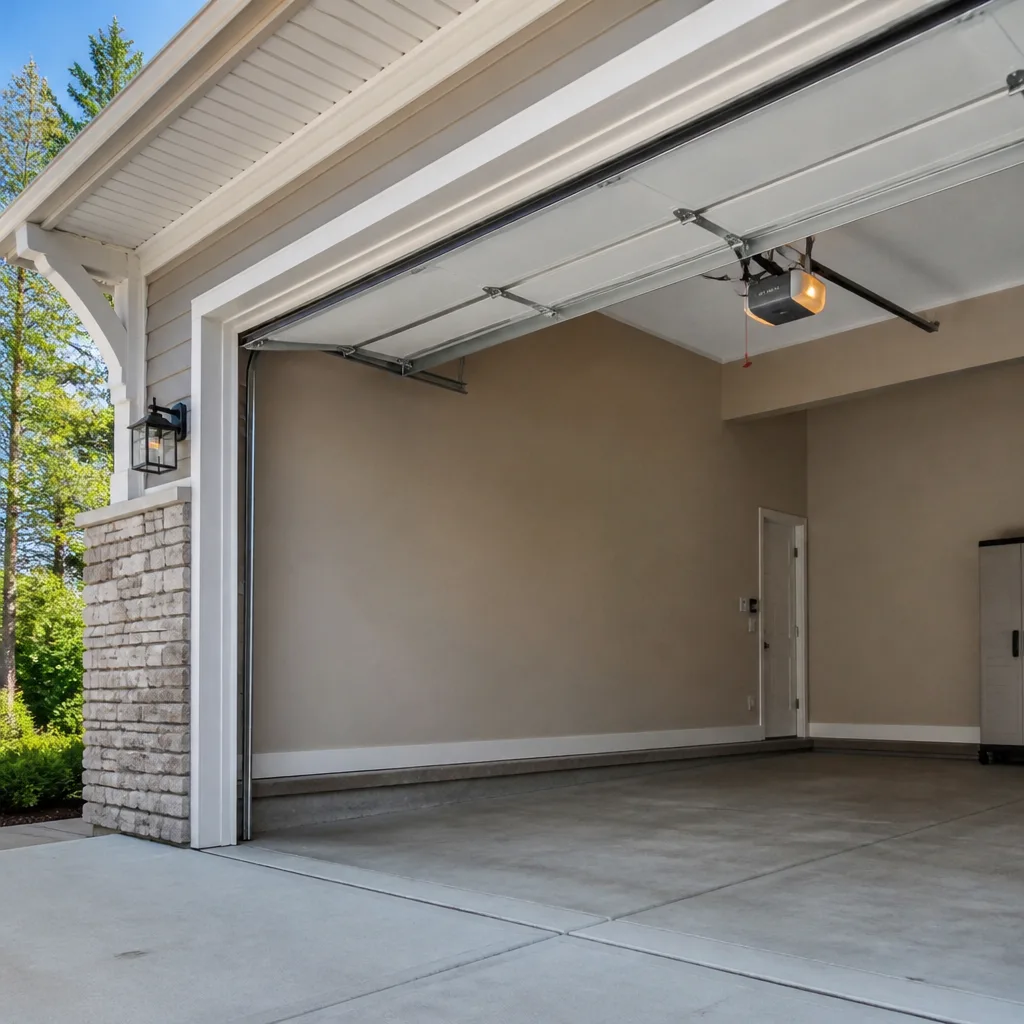 Chamberlain openers
Full 25-point door and opener safety check with every visit - springs, cables, rollers, tracks, and your LiftMaster or Chamberlain opener included
You get a price before we start. It does not change when the pro arrives.
Get your free estimateGarage Door Repair Maintenance Checklist for Arlington Heights Homeowners
Most checklists tell you to lubricate moving parts and test the auto-reverse. That advice is so vague it creates false confidence. The failures that actually strand cars in Arlington Heights garages usually trace back to something a homeowner could have spotted months earlier with a flashlight and a five-minute look. And the number one cause of avoidable winter service calls isn’t a broken spring. It’s a bottom seal that was never replaced after the previous winter cracked it, letting cold air and meltwater push the door’s bottom section out of alignment until the whole system starts fighting itself. This guide gives you observable pass/fail criteria, not chores.
Quick Answer
A garage door maintenance checklist for Arlington Heights should separate tasks you can inspect with your eyes from tasks that need hands-on testing and tasks that only a trained technician should perform. The highest-value checks are the bottom weather seal, balance and travel, hinge and roller wear, and visual spring condition. Start with a monthly safety test, do a full inspection each season, and call a specialist the moment a spring looks stretched or a door stops balancing.
Styles & brands we work with
- Raised-panel steel
- Carriage house
- Modern flush
- Full-view glass
- LiftMaster openers
- Chamberlain openers
Table of Contents
- Why Arlington Heights Doors Fail Differently
- Eyes-Only Checks You Can Do in Ten Minutes
- Hands-On Tests That Need Nothing But Your Hands
- Weather Seal Inspection for Illinois Winters
- Reading Spring Wear Without Touching the Springs
- The Right Lubricant for Each Component
- Track Alignment and the Plumb-Line Check
- A Seasonal Schedule for Arlington Heights
Why Arlington Heights Doors Fail Differently
A garage door in Arlington Heights lives through a wide swing of temperatures across the year. Hot, humid summer afternoons bake the rubber seals and warp wood-composite bottom sections. Then the first hard freezing nights arrive and every piece of metal contracts. Steel springs and tracks move at a different rate than the rubber and wood around them. Repeated cycling through those temperature changes is what wears a residential door down, and it’s why the same component that’s fine in April gets noisy by December.
Wind-driven snow and road spray also find every gap along the bottom and sides. Once water gets behind a seal and freezes, it lifts a corner of the bottom section. That corner then catches on the frame with every cycle, which strains the opener and slowly works the track loose. You won’t notice the first stage. You’ll notice the day the door stops shutting flush.
Arlington Heights has a lot of older two-car garages and a mix of homes where the original door has been replaced once and the opener twice. That means mismatched parts working together, which is exactly where this checklist earns its keep. A door that pairs a Genie opener with a Clopay door and original hinges needs inspection tuned to those pieces, not a generic list.
If you’d rather have a trained eye run through the whole system once, a professional inspection from the Arlington Heights Garage Door Repair Pros takes the guesswork out and gives you a written readout. It’s also worth knowing that our service goes beyond checks; when a door does break, our garage door repair covers springs, openers, panels, and tracks under one roof.
Eyes-Only Checks You Can Do in Ten Minutes
These checks require nothing but a flashlight and a chair to stand on. No tools, no hands on the mechanism, no risk.
- Look at the full door from inside. Stand back and run your eye along the horizontal panels. Any panel that dips at one end or shows a visible bow is a sign the door has lost balance or a track is pulling out of line.
- Check both vertical tracks with the door shut. They should look parallel to each other and straight. Noticeable bowing, dents, or a section that looks wider at one end than the other means the door is riding on a stressed path.
- Inspect hinges for cracks at the bends. A hinge with a fine hairline crack at the 90-degree fold is a future failure. Look closely at the ones that carry the most weight: the bottom hinges near the floor.
- Look at the roller stems. Each roller has a small metal stem sitting in a hinge bracket. A bent stem or one that sits at an angle instead of level is dragging sideways.
- Scan the bottom seal along the floor. Any light visible under the door on a bright day means the seal isn’t touching. We’ll cover what to look for in the seal section below.
- Look at cable drums at the top corners. The cable should sit wound, smooth, and even. Fraying, a bird’s nest of strands, or a cable that looks slack is a stop-and-call sign.
If any of those turn up something serious, don’t run the door again. Note what you saw, and call. That’s a conversation a technician can work from fast. Our garage door opener repair visits include a full visual pass over these exact points because most opener “failures” get traced back to door problems rather than the motor itself.
Hands-On Tests That Need Nothing But Your Hands
These need you to move the door and the safety components, so never do them while anyone is standing under the door. Keep children and pets clear. If a test turns up a problem, stop and call out a technician rather than trying to fix it yourself. Our technicians have up to 9 years of experience, and they can spot what a test alone won’t show.
1. The balance test. Raise the door halfway by hand or with the opener. Disconnect the opener (there’s a manual release pull, usually on a red cord). Lift the door to waist height and let go. A balanced door holds its position. A door that drops on its own is losing spring tension. A door that fights upward has too much. Either way, an unbalanced door wearing on your opener is exactly the pattern behind frequent opener failures.
2. The auto-reverse safety test. Place a two-by-four flat on the floor under the middle of the door. Close the door using the wall control. The door should contact the board and immediately reverse to full open. It should also reverse when the photo-eye safety beam is interrupted. Walk through the beam with the door closing and confirm the door reverses. If it doesn’t reverse, treat the door as unsafe until a technician checks it: do not use it reliably as a weather or security barrier.
3. The manual release test. Pull the red release cord with the door closed. The door should disengage from the opener smoothly. Re-engage it and run one full open-close cycle to make sure the carriage reconnected. A release that binds is a warning that the carriage is worn.
4. The horizontal track shake. With the door open and the opener off, give each horizontal track a gentle shake near the ceiling. A little give is normal. Loose mounting hardware, a track you can nudge out of position, or anything that feels like it’s separating from the ceiling is worth having tightened by a technician.
Do these tests once a month. They’re the cheapest early warning you have. A door that fails any of them shouldn’t be run through a cycle until someone trained looks at it.
Weather Seal Inspection for Illinois Winters
This is where Waterloo weather and Arlington Heights winters most often get the better of a door. The bottom seal is the part that quietly costs homeowners the most in avoidable damage, because a cracked seal is easy to miss until the door has already started misbehaving.
Go outside and crouch down. Look at the rubber or vinyl strip that runs along the bottom. What you’re looking for isn’t cosmetic scuffing, it’s the shape of the wear:
- Fine surface cracking along the exposed face is cosmetic. A seal that looks dry but still lays flush against the floor can survive another season.
- Cracks that run through the thickness of the seal are failure. If you can see daylight or feel cold air moving through the seal when the door is shut, it has to be replaced before the first freeze.
- A flattened or curled bottom lip where the seal no longer touches the floor, especially on one side, means water is getting under. This is the seal that was never replaced after last winter’s cracking, and it’s the one responsible for most winter convenience-breaking service calls.
- Frozen moisture behind the seal after a freeze, visible as a ridge of ice in the gap, means water is already trapped and lifting the bottom section. Clear it gently and get the seal replaced before the next freeze.
The side and top weatherstripping matters too. Look for gaps between the frame and the door on a windy day, and for any rubber that has turned hard and lost its spring. A door with all three seals doing their job will keep the cold, snow, and road spray where they belong. One that isn’t is turning your garage into a wind tunnel and your door’s bottom into a lever.
Reading Spring Wear Without Touching the Springs
Springs are the most dangerous part of any garage door system. They store enough energy to cause serious injury, which is why this checklist gives you a way to read spring wear from the ground, without ever touching them. Never loosen, adjust, or attempt to repair a spring yourself.
What you can do is look. On a torsion system, the springs are the horizontal coils mounted on a shaft above the door. On an extension system, they’re the long springs running along the horizontal tracks. In either case you’re looking for four visual signals:
Signal 1: A visible gap in the coil
A healthy spring has coils sitting evenly together or with a small, even gap. A spring with one coil sitting noticeably apart from its neighbors has lost tension there. That gap is the spring telling you it’s on its way out. Don’t run the door hard after you see it.
Signal 2: A sagging or stretched spring
Compare the length of the two springs if you have a pair. If one is visibly longer than the other, it has stretched. A spring that has lost its shape has lost part of its ability to lift the door, and the opener is picking up the slack.
Signal 3: Rust or powder
Rust and powdery orange residue along a spring indicate the metal is weakening from the inside out. In Arlington Heights the combination of humid summers and winter road spray is what accelerates this, especially on doors that face the street.
Signal 4: The balance test tells the truth
If you’ve done the balance test above and the door drops on its own, the spring or springs are already the problem, regardless of what they look like. A door that drops on a balance test is telling you the spring has 60 to 90 days of usable life left, at most, before it stops lifting the door altogether. Many of those failures happen without warning. Others happen exactly when the temperature swings hard in late fall.
When any of those four signs turn up in Arlington Heights, the honest answer is to stop running the door and have garage door spring repair done by a trained technician. Springs in a matched pair are usually replaced together, because they wear at the same rate. If one is failing, the other is close behind.
The Right Lubricant for Each Component
Not every part of a garage door wants the same lubrication, and the wrong product does real damage. The most common mistake we see is a homeowner reaching for heavy grease and putting it on the rollers. The same grease that keeps a hinge happy will attract grit and can break down the material inside a nylon roller.
Here’s what each component actually wants:
- Steel hinges: A light lithium or silicone-based spray at the hinge pin and at the fold. Wipe off excess. This is the place a heavier grease does its job well.
- Nylon rollers: A silicone-based spray, applied sparingly at the stem only. Never grease the nylon wheel itself. Grease collects dirt and makes a nylon roller wear faster, not slower.
- Steel rollers: A small amount of lithium grease at the bearing, not on the wheel face. Wipe off the excess so it doesn’t fling onto the door.
- Torsion spring shaft and bearings: A drop of light oil or a silicone spray at the bearing points. Nothing on the spring coils themselves.
- Track: None. Dust, grease, and debris are the enemies here. A dry rag along the inside channel is what a track needs, not lubricant.
- Opener chain or belt: The manufacturer’s specified lubricant only, and only on chain drives. Belt drives don’t need it. Check the owner’s manual for the specific product.
The rule of thumb: any metal-to-metal contact that moves gets a light film. Anything nylon, rubber, or plastic gets the right spray or nothing at all. Grease on a nylon roller is a slowdown, not a fix. If you’re not sure which rollers are which, feel one. Nylon rollers are light and have a smooth plastic wheel. Steel rollers are heavier and mostly metal. Knowing which your door uses is the first step in knowing how to maintain it.
Track Alignment and the Plumb-Line Check
Track drift is a slow process. A vertical track pulled out a quarter inch over a couple of seasons will stress your opener every time the door cycles. Homeowners often blame the opener when the track is what has moved. You can spot drift before it does damage with a plumb-line check.
- Close the door fully. This puts the tracks under their normal load.
- Tie a small weight to a string and hang the plumb line just inside the top of one vertical track, near the frame.
- Look down the string. The full length of the vertical track should be parallel to the plumb line. If the track bows out at the bottom or top, that’s drift.
- Repeat on the other side. The two tracks should mirror each other. If one reads true and the other doesn’t, you know which one has moved.
- Check the horizontal tracks with the door open. The horizontal sections should be level and parallel to each other from front to back.
If a track reads out of plumb, don’t try to bend it back yourself. Tracks are structural, and the bolts and brackets behind them have to be re-bedded to hold. A technician using a proper angle check will set the position correctly rather than just knocking the bow flat. That’s the same reason our opener work always begins with a track and balance check: putting a good opener on a crooked track just moves the problem. Our garage door opener repair starts there, every time.
A Seasonal Schedule for Arlington Heights
The rhythm that keeps a door running through an Arlington Heights year is simple: look in spring after the freeze has finished, look in fall before the freeze starts, and do the monthly safety tests on a calendar you won’t forget. Here’s a schedule built to that rhythm.
- Every month: Run the balance test, the auto-reverse test, and the photo-eye test. Two minutes, and it’s the highest-value combination on this list.
- Early spring (after the last freeze): Full eyes-only inspection. Bottom seal check for winter cracking, hinge and roller inspection, track plumb check. Replace any failed seal and note any drift.
- Mid-summer: Lubricate hinges, steel rollers, and the spring shaft bearing. Wipe tracks dry. Clean away any grit caught in the seal groove.
- Early fall (before the first freeze): Repeat the full seal inspection with winter in mind. Any curl, gap, or through-cracking gets fixed now, not in January. Re-check spring condition and note any visual gap. Check the auto-reverse sensor alignment after the summer sun has moved.
- Winter: Monthly tests only. Don’t lubricate in the cold. Keep the area in front of the door clear so snow and ice don’t back up under the seal.
If you notice the door getting noticeably louder, struggling to open, or reversing without reason, that’s a stop-and-call signal no matter what the calendar says. Our garage door repair visits start with a full diagnostic so the part that’s failing actually gets replaced, not the part that’s the easiest guess.
Common Mistakes to Avoid
- Skipping the bottom seal until the door starts misbehaving. The bottom seal is the cheapest part on the checklist and the one that causes the most avoidable winter service calls in Arlington Heights. Replace it the season it cracks through, not the season after.
- Greasing nylon rollers. The same grease that helps a steel hinge damages the material and collects grit inside a nylon roller. Wrong lubricant, wrong outcome: a louder, faster-wearing roller.
- Judging spring condition by how the door feels. A door can feel fine and still have a spring on its last 60 days. The visual signals in this list are what catch failure early.
- Adjusting the opener’s force setting to compensate for a stiff door. Increasing force is a way of ignoring the problem, and it puts the motor under strain it isn’t designed to carry. Fix the door, then leave the opener alone.
- Treating a track that “looks a little off” as cosmetic. Drift shows up in the opener long before it shows up in the door’s looks. Run the plumb check and believe what it says.
- Doing the balance test with the door under load and no one clear. A door that drops during a balance test can slam. Test with nobody under the door, and don’t skip the manual release step.
- Running the door on a failed auto-reverse. A door that won’t reverse off an obstruction is a safety failure, not a maintenance item. Get a technician out before it’s used again.
One more that bites Arlington Heights door owners specifically: getting a panel replaced or a spring repaired without checking the door’s balance afterwards. A repair that isn’t followed by a balance and track check leaves the system running under the load the repair was meant to fix.
See the difference
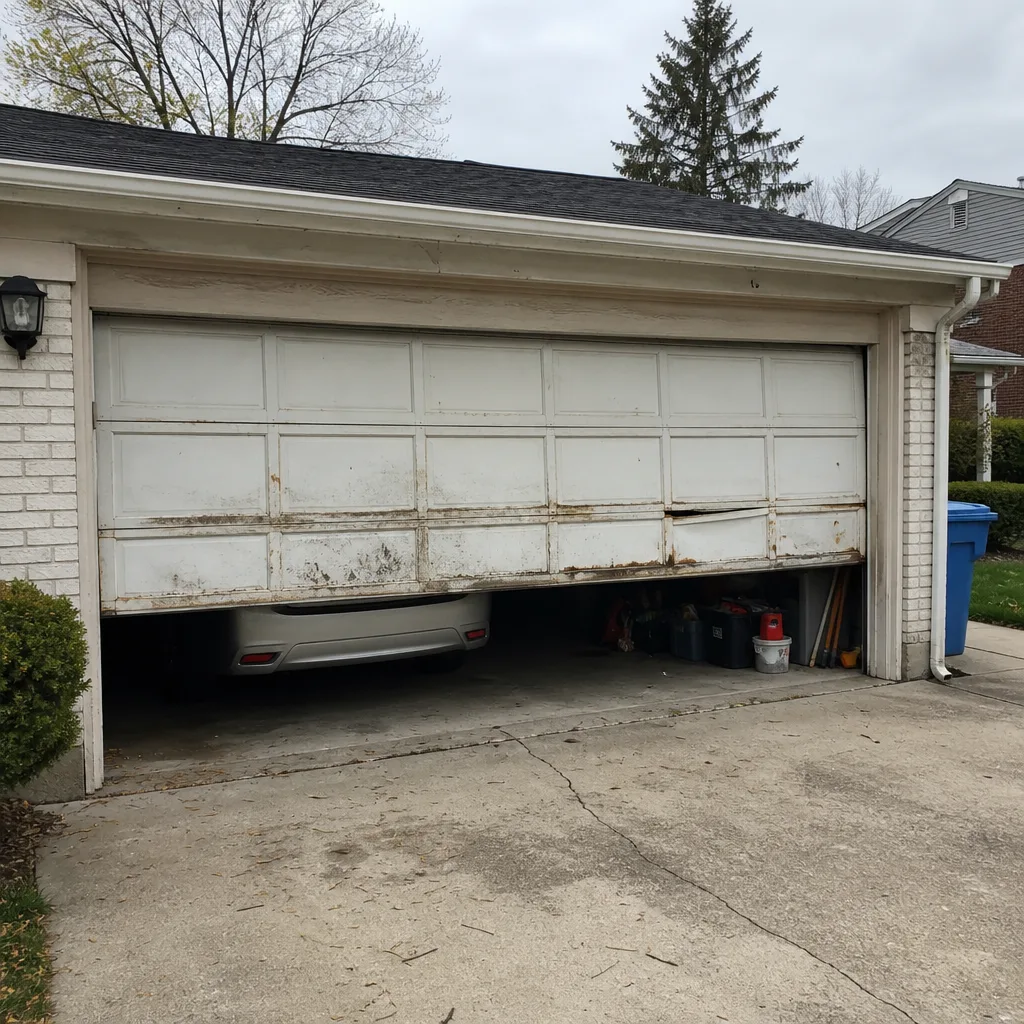 Before
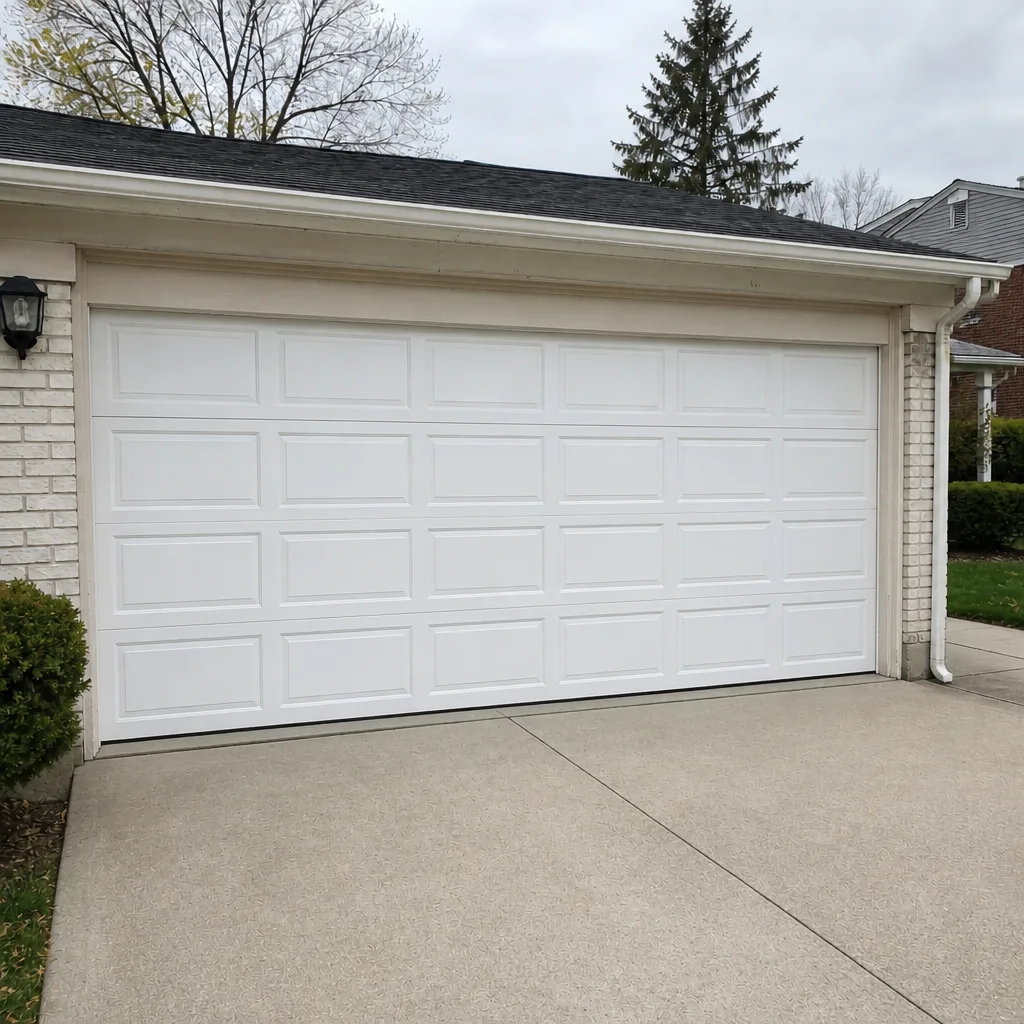 After
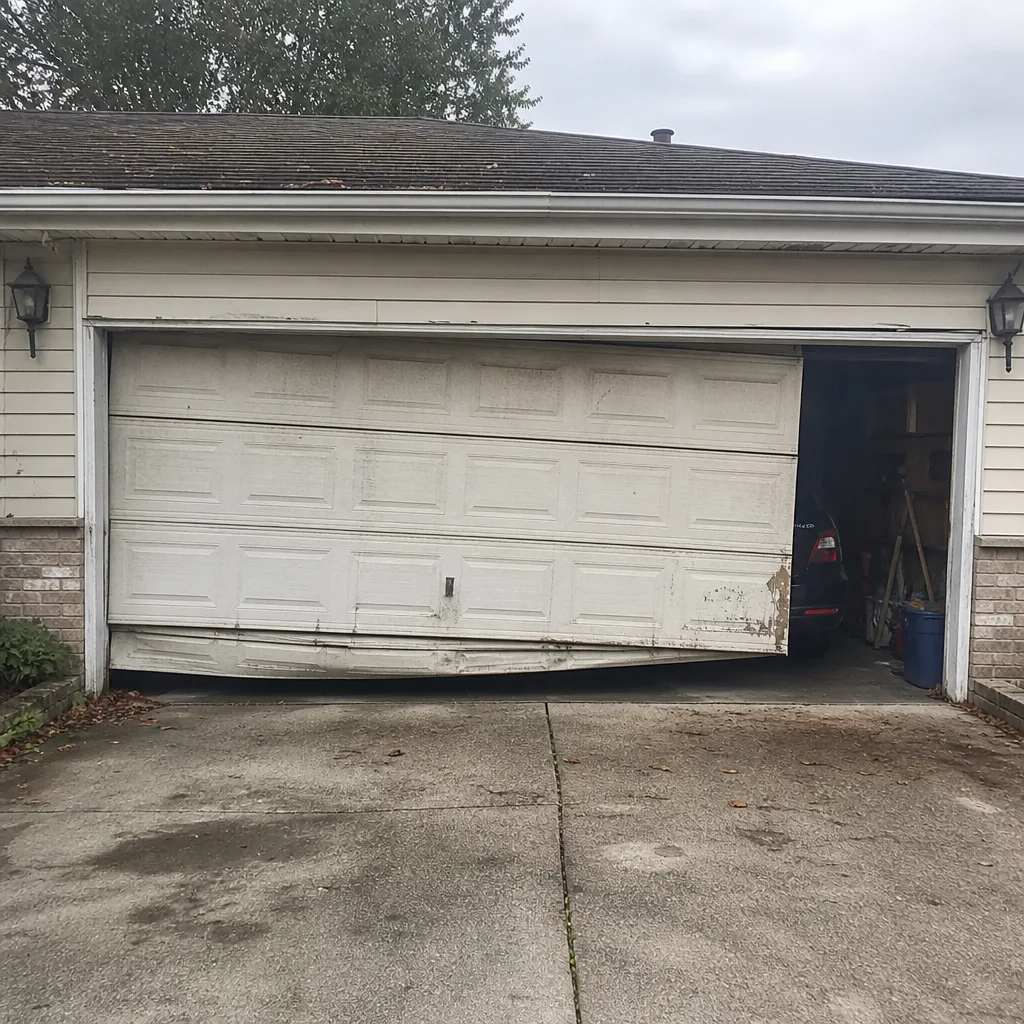 Before
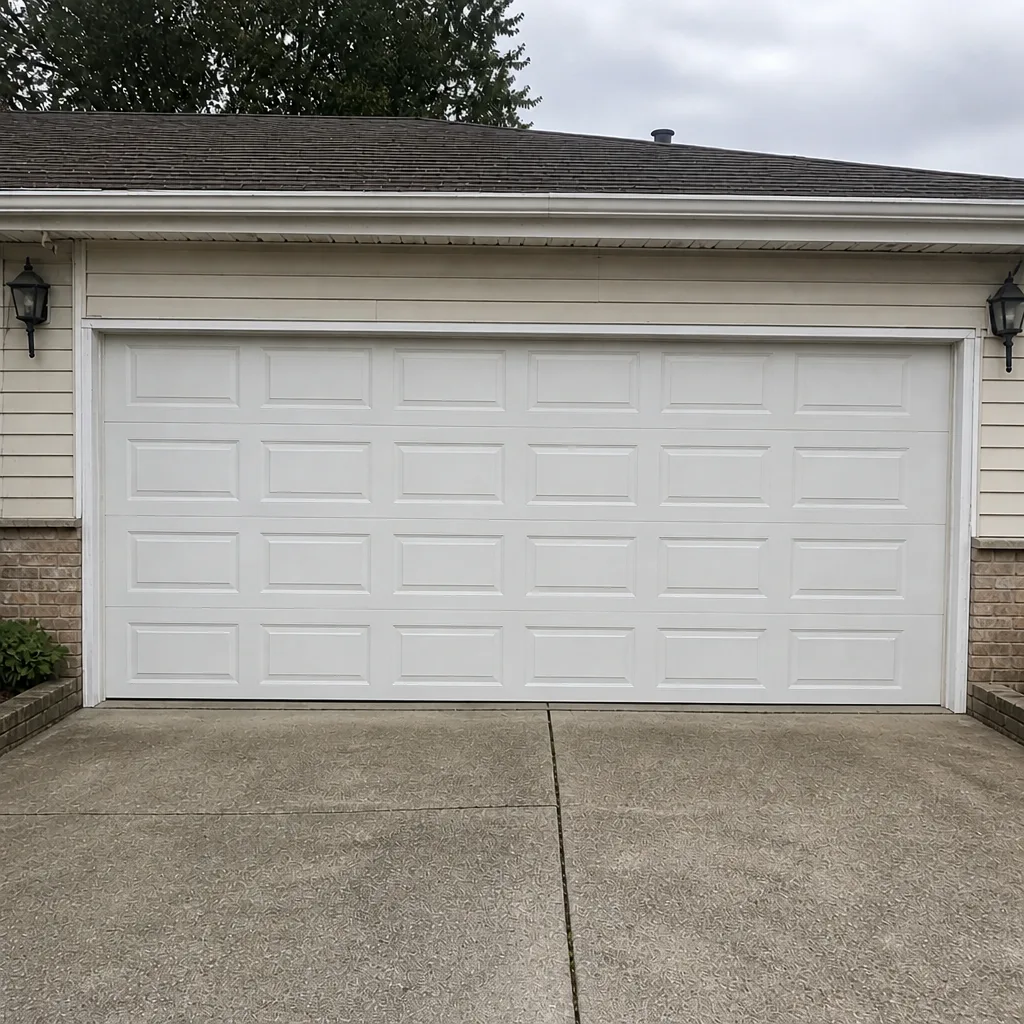 After
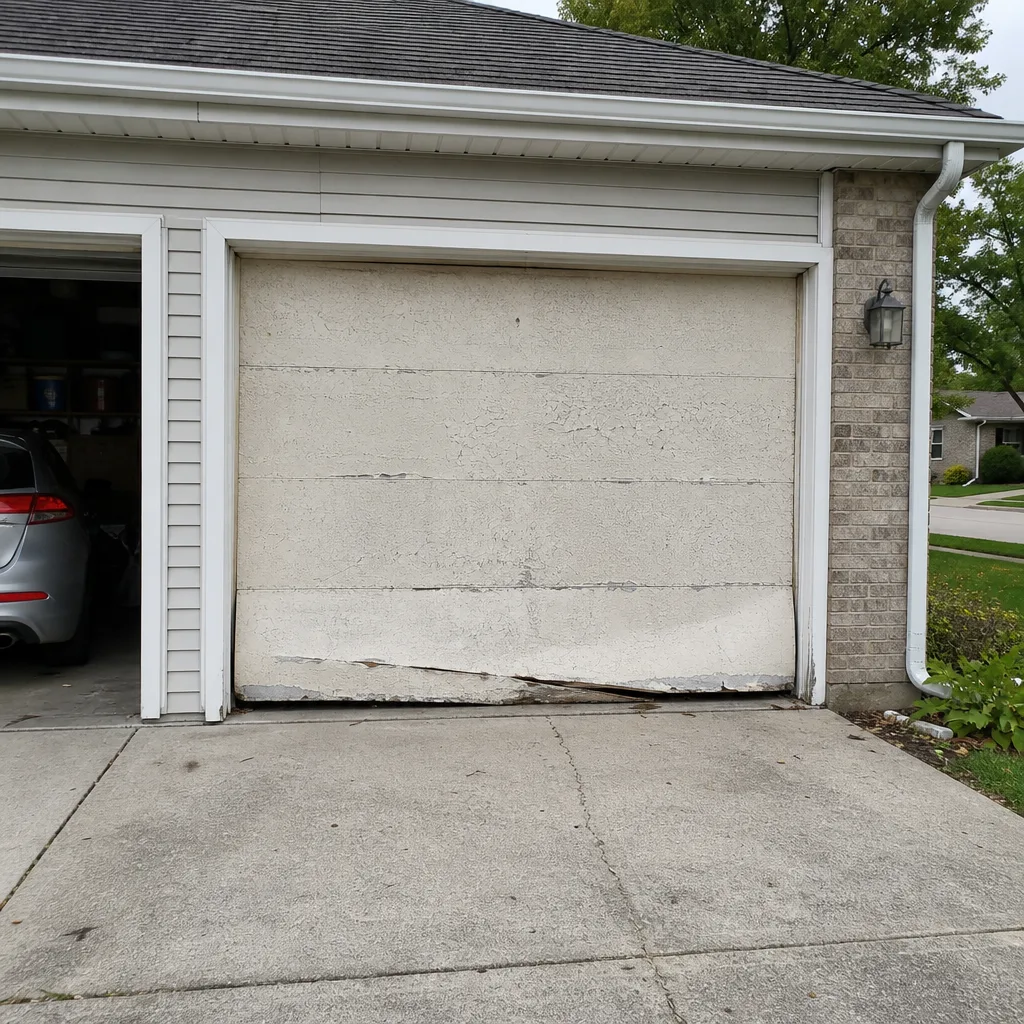 Before
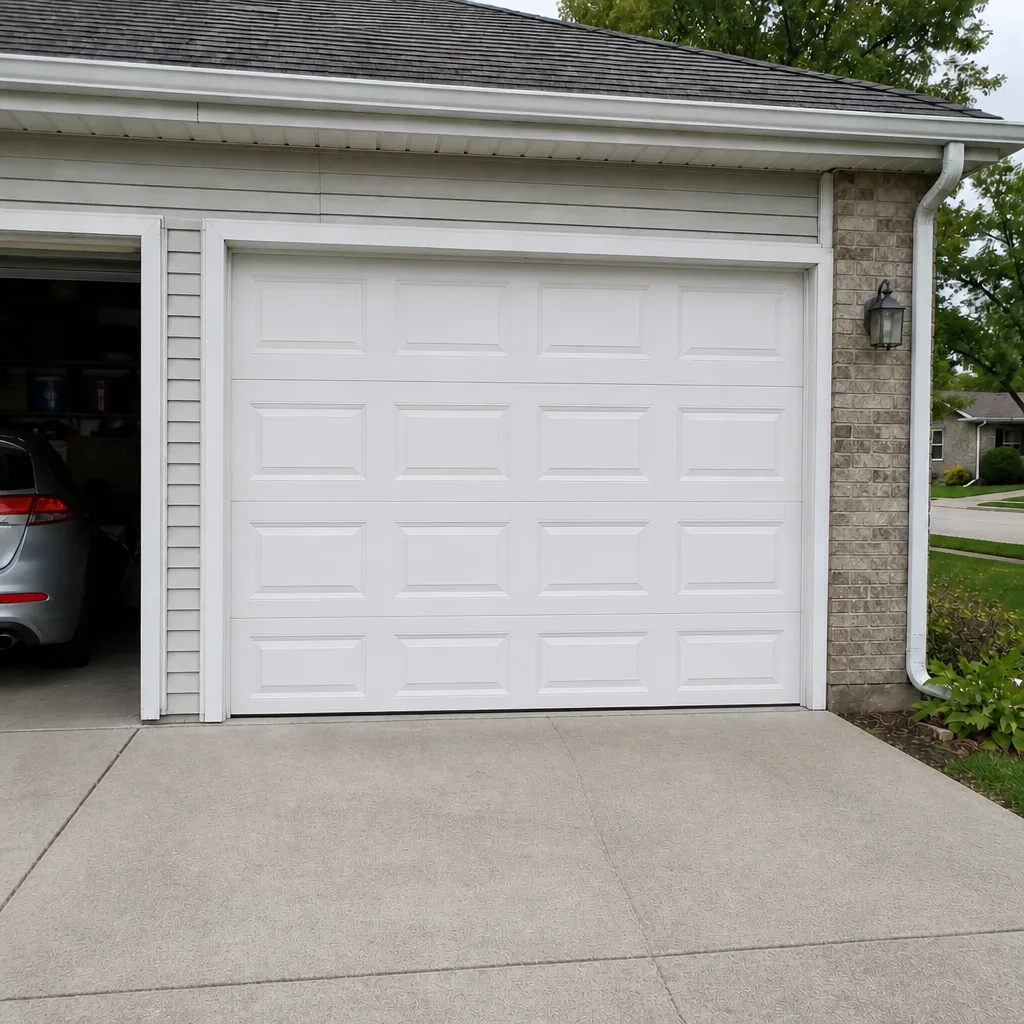 After
When to Call a Professional
Some problems can only be fixed by a trained technician, and trying them yourself puts you at real risk. Call a professional if a spring shows a gap, sags, or has rusted along the coil. Call if the door drops during a balance test, if a cable looks slack or frayed, or if the auto-reverse doesn’t trip. Call if a track reads out of plumb, if a door has come off its track, or if the opener has started reversing on its own for no reason. Call if a panel has been damaged and the door won’t close flush, or if the door has become difficult enough that you’re lifting it by hand to get the car out. And call before you ever loosen a spring or a cable, because those hold the door’s full weight with no safe way for an untrained person to take over that force. Arlington Heights Garage Door Repair Pros offers free estimates in Arlington Heights. Call (877) 460-4338.
Frequently Asked Questions
Run a short monthly safety test and a full checklist pass twice a year, once in spring after the last freeze and once in early fall before the first one. That twice-a-year rhythm matches how the seasons affect an Arlington Heights door. The monthly test only takes a couple of minutes and catches the failures that build between the big checks.
A loud door in cold weather is usually a lubrication issue, a worn hinge, or a bottom seal that’s dragging, not a failing spring. Cold metal and rubber harden and lose their cushion. Lubricate the metal contact points in fall before the first freeze and check the seal for a curl. If the noise is a grinding or scraping, get it looked at: that’s a mechanical issue and it won’t clear when the weather warms up.
Replacing the bottom seal is one of the few tasks on this list many homeowners can handle themselves if the door is in good condition and the seal type is straightforward. The catch is getting the new seal seated evenly along the full width. A seal that’s off by a quarter inch will let air and water in at one corner. If the door’s bottom section shows any bow or alignment issue, call a technician: a new seal on a warped door just hides the problem. Call (877) 460-4338 for a free estimate and a straight answer on which one you need.
A tune-up in Arlington Heights typically runs $85 to $180, depending on whether a seal or a hinge replacement is included. The written estimate sets the final price, and we agree it before any work starts. If the technician finds a spring that needs replacing, that’s a separate line item, and a matched pair of springs typically runs $180 to $340. Call (877) 460-4338 for an exact quote: estimates are free.
Look for a visible gap between coils, a sagging or stretched spring compared to its pair, rust or orange powder along the coils, or a door that fails the balance test and drops on its own. Those are the four visual signals that a torsion or extension spring is approaching failure. If any of them show up, stop using the door and call a technician. Never touch the springs yourself.
If a track reads out of plumb on a plumb-line check, call a technician. A track that looks “a little off” is often a mounting bracket pushing out of alignment, and bending the track back doesn’t fix the bracket underneath. A technician sets the position correctly and then re-checks the balance of the whole door. Running the opener on a drifted track is how a small check turns into a costly repair.
Any specialist worth calling should be familiar with the door and opener that’s actually installed, whether that’s a Clopay door, an Amarr door, a Chamberlain opener, or a Genie unit. We work on eight of the leading brands across both legacy and smart-home openers. Knowing the exact system before the technician arrives is what keeps a repair to one visit.
The Bottom Line
The value in this checklist is in the specific pass/fail criteria, not the general advice. A damaged nylon roller isn’t fixed by more grease. A bowed track isn’t fixed by bending it flat. A bottom seal that cracked last winter and wasn’t replaced is what pushes the door’s alignment out and stresses the opener. Do the monthly safety tests, do the full spring and fall inspection, and treat every visual signal from a spring as a reason to stop and call. That combination is what actually keeps a garage door running through an Arlington Heights year. If a check turns up a problem, call Arlington Heights Garage Door Repair Pros at (877) 460-4338 for a free estimate. We’re factory-familiar with LiftMaster, Chamberlain, Genie, Clopay, Amarr, Wayne Dalton, Craftsman, and Raynor, and we handle spring, opener, panel, and full door replacement as one specialist. The written estimate sets the final price, and it’s agreed before any work begins.
Written by the team at Arlington Heights Garage Door Repair Pros.